This Quick Start demonstrates how to use Realm with the Realm .NET SDK. It then demonstrates adding Device Sync with Atlas App Services to your app. Before you begin, ensure you have Installed the .NET SDK.
Install Realm
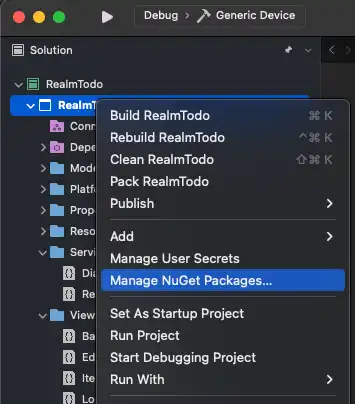
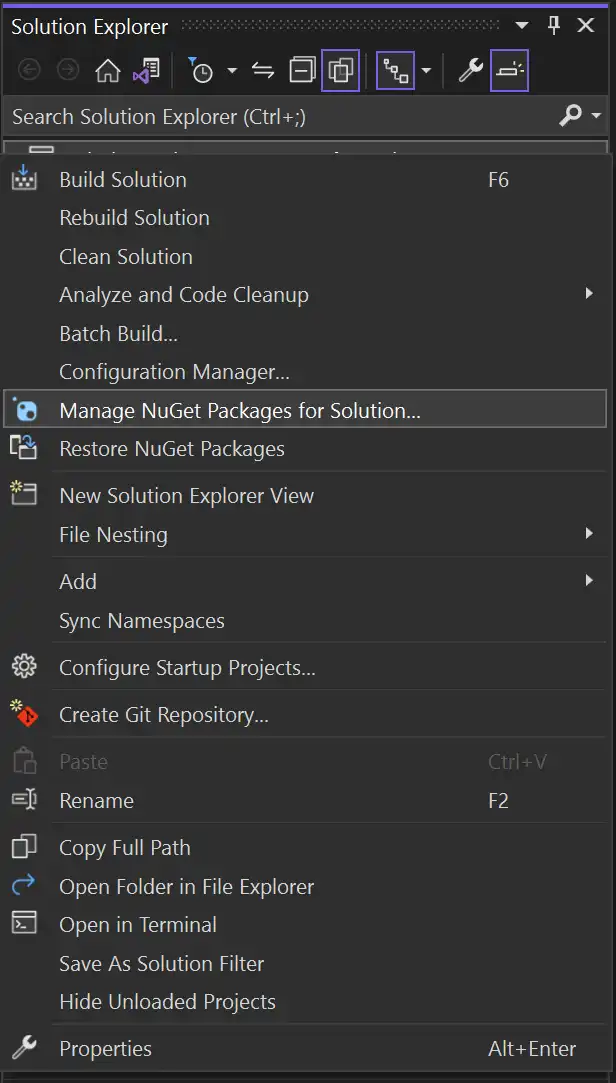
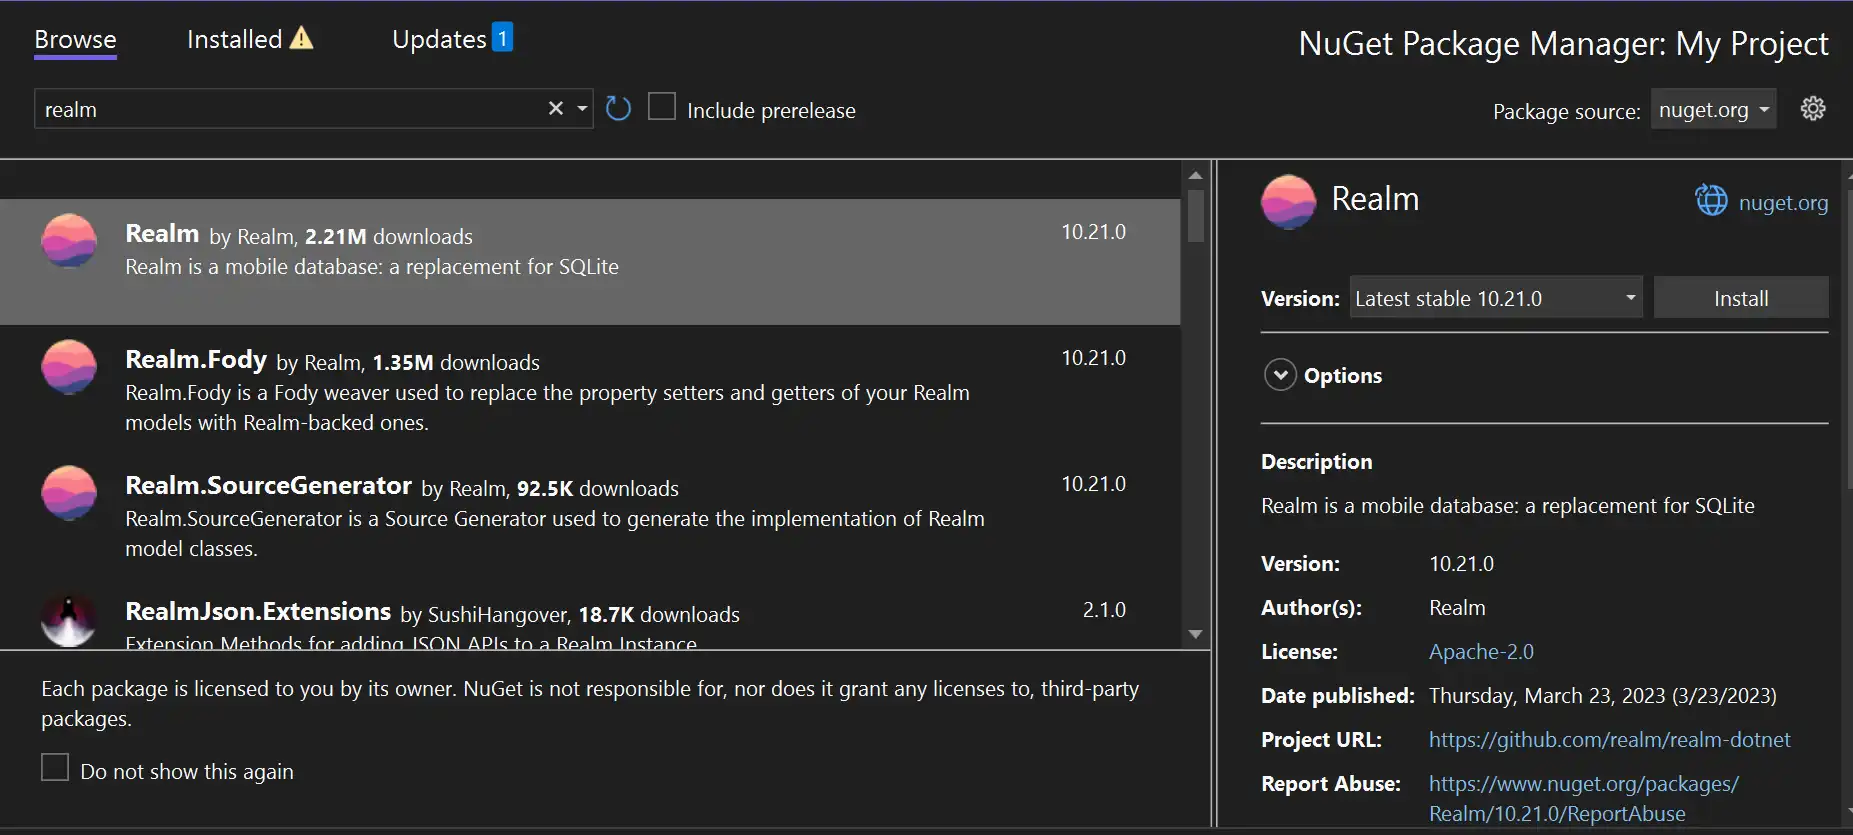
Follow these steps to add the .NET SDK to your project.
Important
Install the SDK for all projects
If you have a multi-platform solution, be sure to install the SDK for all of the platform projects, even if the given project doesn't contain any SDK-specific code.
Add the Realm Weaver to FodyWeavers.xml
Note
You can skip this step if you were not already using
Fody in your project.
Visual Studio will generate a properly-configured
FodyWeavers.xml file for you when you first build.
If your project was already using Fody, you must manually add the
Realm weaver to your FodyWeavers.xml file. When done,
your FodyWeavers.xml file should look something like
this:
<Weavers xmlns:xsi="http://www.w3.org/2001/XMLSchema-instance" xsi:noNamespaceSchemaLocation="FodyWeavers.xsd"> <Realm /> </Weavers>
Import Realm
Add the following line to the top of your source files to use Realm:
using Realms;
Define Your Object Model
Your application's object model defines the data that you can store within Realm and synchronize to and from App Services.
Important
Inheritance
All Realm objects inherit from the
IRealmObject,
IEmbeddedObject, or
IAsymmetricObject
interface and must be declared partial classes.
In versions of the .NET SDK older than 10.18.0, objects derive from RealmObject, EmbeddedObject, or AsymmetricObject base classes. This approach to Realm model definition is still supported, but does not include new features such as the nullability annotations. In a future SDK release, the base classes will become deprecated. You should use the interfaces for any new classes that you write and should consider migrating your existing classes.
The following code shows how to define an object model for an Item object. In
this example, we have marked the Id field as the Primary Key and marked
the Status property as optional. We've also chosen to use the MapTo
attribute; properties will be stored in lower case on the server, but can use
.NET-friendly casing on our property names when using Device Sync.
public partial class Item : IRealmObject { [] [] public ObjectId Id { get; set; } = ObjectId.GenerateNewId(); [] public string Assignee { get; set; } [] public string? Name { get; set; } [] public string? Status { get; set; } }
Open a Local Realm
In a local-only realm, you open a realm with either the
Realm.GetInstance() or
Realm.GetInstanceAsync()
method. Which method you use depends entirely on if and how you are using asynchronous
patterns in your app.
The following code shows how to use GetInstance():
var realm = Realm.GetInstance();
For more information, see: Open a Realm.
Create, Read, Update, and Delete Objects
When creating or updating documents, all writes must happen in a transaction.
The following code shows two methods for creating a new Realm object. In the
first example, we create the object first, and then add it to the realm within
a WriteAsync()
method. In the second example, we create the document within the WriteAsync
block, which returns a realm object we can further work with.
var testItem = new Item { Name = "Do this thing", Status = ItemStatus.Open.ToString(), Assignee = "Aimee" }; await realm.WriteAsync(() => { realm.Add(testItem); }); // Or var testItem2 = await realm.WriteAsync(() => { return realm.Add<Item>(new Item { Name = "Do this thing, too", Status = ItemStatus.InProgress.ToString(), Assignee = "Satya" }); } );
Upserting a document is the same as creating a new one, except you set the
optional update parameter to true. In this example, we create a new
Item object with a unique Id. We then insert an item with the
same id but a different Name value. Because we have set the update
parameter to true, the existing record is updated with the new name.
var id = ObjectId.GenerateNewId(); var item1 = new Item { Id = id, Name = "Defibrillate the Master Oscillator", Assignee = "Aimee" }; // Add a new person to the realm. Since nobody with the existing Id // has been added yet, this person is added. await realm.WriteAsync(() => { realm.Add(item1, update: true); }); var item2 = new Item { Id = id, Name = "Fluxify the Turbo Encabulator", Assignee = "Aimee" }; // Based on the unique Id field, we have an existing person, // but with a different name. When `update` is true, you overwrite // the original entry. await realm.WriteAsync(() => { realm.Add(item2, update: true); }); // item1 now has a Name of "Fluxify the Turbo Encabulator" // and item2 was not added as a new Item in the collection.
You also delete items within a WriteAsync() method. The following code shows
how to delete a single Item from the collection and how to delete an entire
collection:
realm.Write(() => { realm.Remove(myItem); }); realm.Write(() => { realm.RemoveAll<Item>(); });
The following pages cover each of these topics in more detail:
Finding, Filtering, and Sorting Documents
You search for documents with the Realm query engine, using either LINQ or the Realm Query Language (RQL). The following example finds all objects of type "Item":
var allItems = realm.All<Item>();
You filter results using either LINQ or RQL. This example uses LINQ to find all Items that have a status of "Open":
var openItems = realm.All<Item>() .Where(i => i.Status == "Open");
You can also sort results using LINQ or RQL:
var sortedItems = realm.All<Item>() .OrderBy(i => i.Status);
For details on querying, filtering, and sorting documents, see Filter and Sort Data - .NET SDK.
Watch for Changes
As document collections change, it is often important to make updates to the data on a client app. You can watch a realm, collection, or object for changes with the SubscribeForNotifications() method.
The following example shows how to add a notification handler on an entire realm collection:
// Observe realm notifications. realm.RealmChanged += (sender, eventArgs) => { // The "sender" object is the realm that has changed. // "eventArgs" is reserved for future use. // ... update UI ... };
You can also add notification handlers on collections and individual objects. For more information, refer to React to Changes.
Add Device Sync (Optional)
If you want to sync Realm data across devices, you can configure Atlas App Services and enable Device Sync. Once you do that, you then add sync to your client code.
Prerequisites
Before you can sync Realm data, you must:
Enable and configure one or more authentication providers
Enable Flexible Sync with Development Mode toggled to
Onand an unique field in the Queryable Fields section.
In the following code, we have enabled anonymous authentication and are using
the ownerId as the unique field in the Flexible Sync configuration.
Initialize the App
To use App Services features such as authentication and sync, access your App Services App using your App ID. You can find your App ID in the App Services UI.
You then initialize your app:
app = App.Create(myRealmAppId);
Use Object Models with Sync
When using Sync, you can define your object models directly in code only if you enabled Sync with Development Mode in the App Services UI.
Note
Get Schema from UI if Development Mode Disabled
If you have enabled Sync but turned off Development Mode, you can copy and paste the object model definitions that App Services generated for you from the SDKs tab in the App Services UI. You must re-enable Development Mode if you want to make changes to the object model definition from client side code.
For more information, see Create a Data Model.
Authenticate a User
In this quick start, we are using anonymous authentication to log in users without requiring them to provide any identifying information. After authenticating the user, you can open a realm for that user.
var user = await app.LogInAsync(Credentials.Anonymous());
You should also provide a way for the user to log out. The following code shows
how to do this by calling LogOutAsync():
await user.LogOutAsync();
The Realm .NET SDK provides many additional ways to authenticate, register, and link users. For other authentication providers, see: Authenticate Users - .NET SDK
Open a Synced Realm
Once you have enabled Device Sync and authenticated a user,
you can open a synced realm. Use a FlexibleSyncConfiguration
object to control the specifics of how your application synchronizes data with
App Services. You then add a Flexible Sync subscription
that determines what data the user can query.
var config = new FlexibleSyncConfiguration(app.CurrentUser) { PopulateInitialSubscriptions = (realm) => { var myItems = realm.All<Item>().Where(n => n.OwnerId == myUserId); realm.Subscriptions.Add(myItems); } }; // The process will complete when all the user's items have been downloaded. var realm = await Realm.GetInstanceAsync(config);
The syntax to read, write, and watch for notifications on a synced realm is identical to the syntax for non-synced realms above. While you work with local data, a background thread efficiently integrates, uploads, and downloads changesets.
For information on creating a Sync-enabled App Services app, see the .NET Tutorial.
For information on implementing Sync in your client code, see Add Device Sync to an App.


