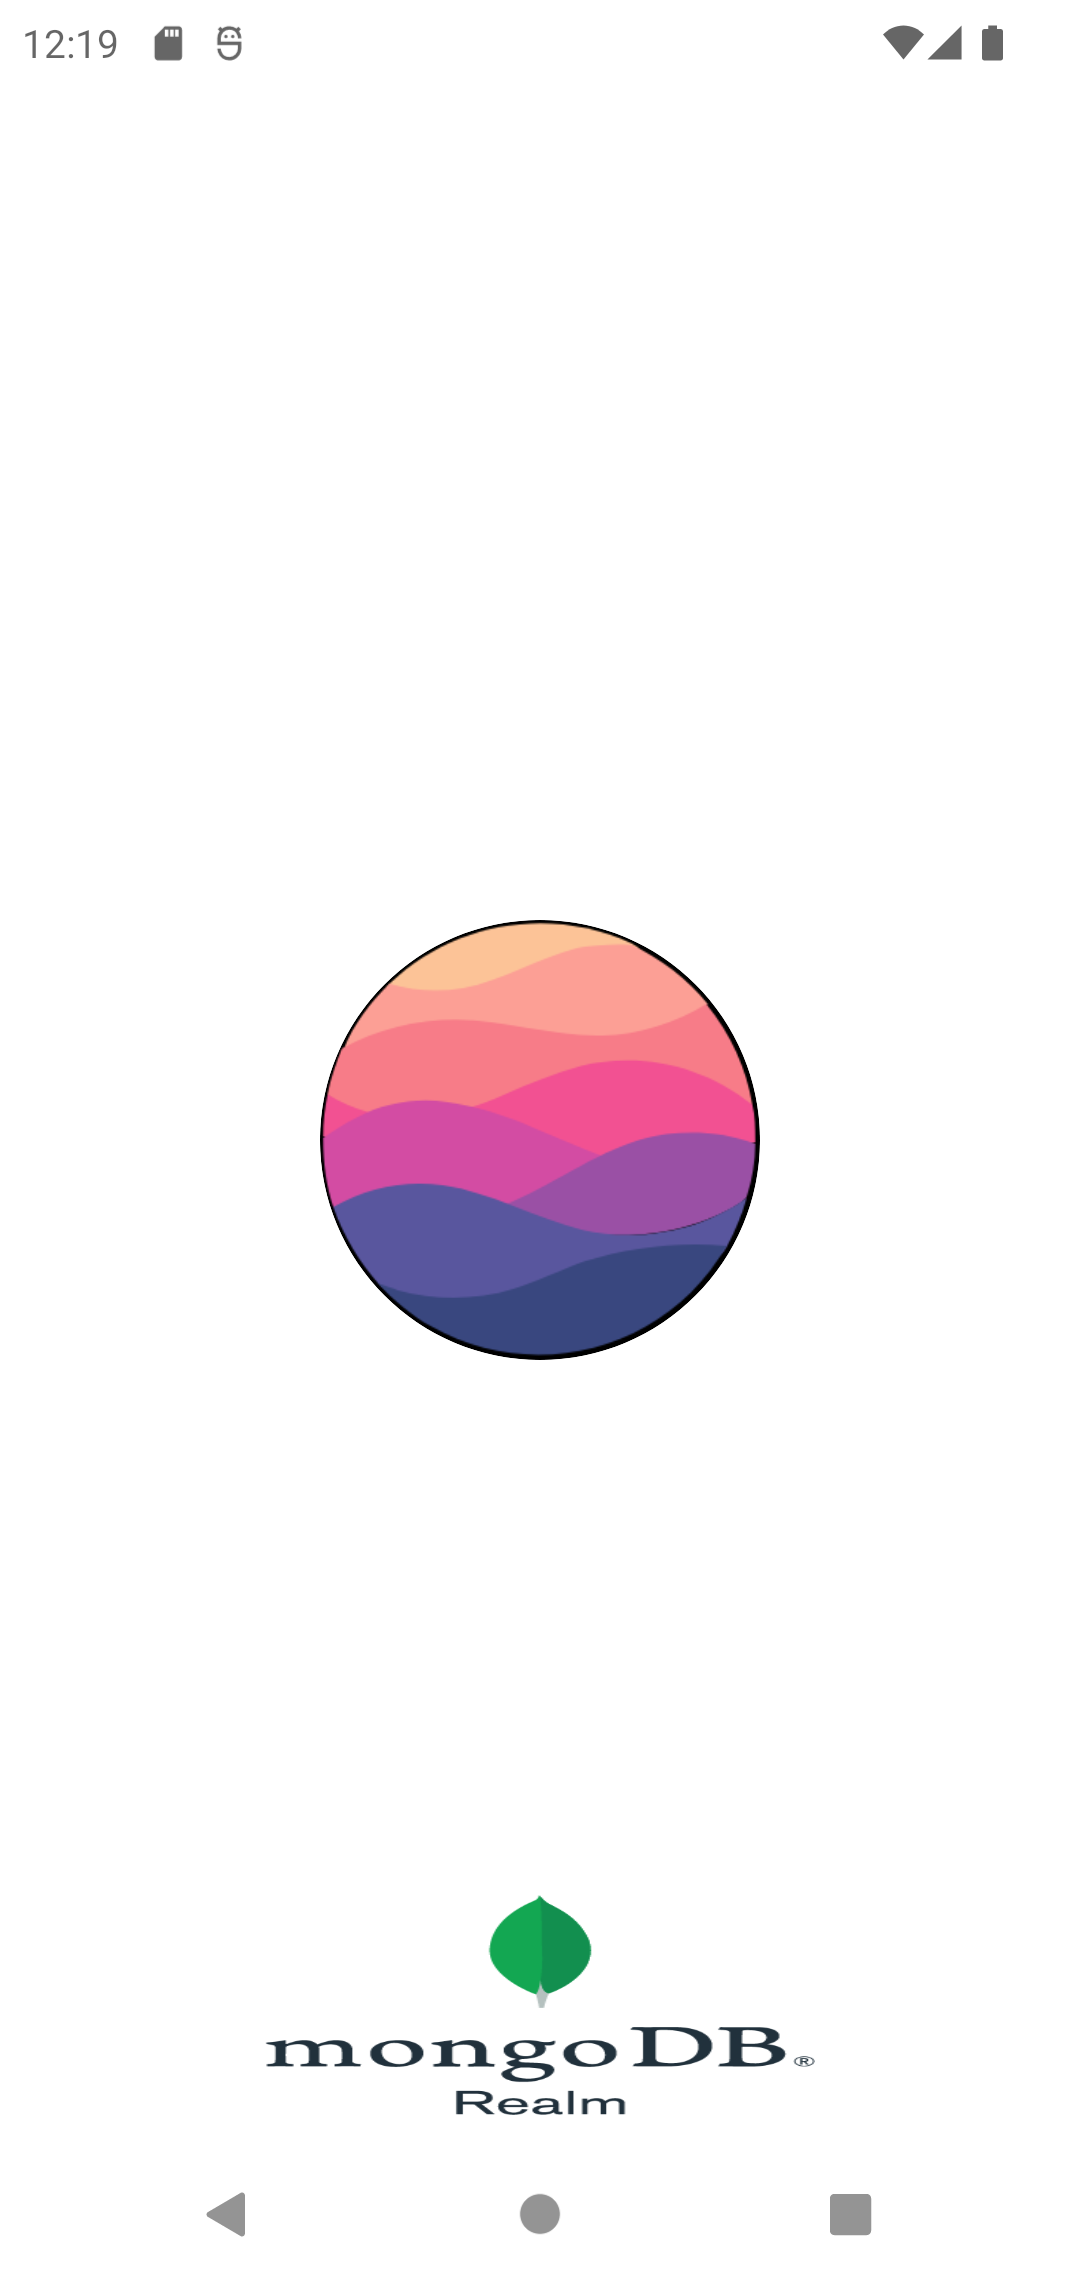
Building Splash Screen Natively, Android 12, Kotlin
In this article, we will explore and learn how to build a splash screen with SplashScreen API, which was introduced in Android 12.
It is the first view that is shown to a user as soon as you tap on the app icon. If you notice a blank white screen (for
a short moment) after tapping on your favourite app, it means it doesn't have a splash screen.
Often, the splash screen is seen as a differentiator between normal and professional apps. Some use cases where a splash
screen fits perfectly are:
- When we want to download data before users start using the app.
- If we want to promote app branding and display your logo for a longer period of time, or just have a more immersive experience that smoothly takes you from the moment you tap on the icon to whatever the app has to offer.
Until now, creating a splash screen was never straightforward and always required some amount of boilerplate code added
to the application, like creating SplashActivity with no view, adding a timer for branding promotion purposes, etc. With
SplashScreen API, all of this is set to go.
Even for the new
SplashScreen API, we need to create a theme but in the value-v31 folder as a few parameters are
supported only in Android 12. Therefore, create a folder named value-v31 under res folder and add theme.xml
to it.And before that, let’s break our splash screen into pieces for simplification.
- Point 1 represents the icon of the screen.
- Point 2 represents the background colour of the splash screen icon.
- Point 3 represents the background colour of the splash screen.
- Point 4 represents the space for branding logo if needed.
Now, let's assign some values to the corresponding keys that describe the different pieces of the splash screen.
1 <style name="SplashActivity" parent="Theme.AppCompat.NoActionBar"> 2 3 <!-- Point 3--> 4 <item name="android:windowSplashScreenBackground">#FFFFFF</item> 5 6 <!-- Point 2--> 7 <item name="android:windowSplashScreenIconBackgroundColor">#000000</item> 8 9 <!-- Point 1--> 10 <item name="android:windowSplashScreenAnimatedIcon">@drawable/ic_realm_logo_250</item> 11 12 <!-- Point 4--> 13 <item name="android:windowSplashScreenBrandingImage">@drawable/relam_horizontal</item> 14 </style>
In case you want to use an app icon (or don't have a separate icon) as `windowSplashScreenAnimatedIcon`, you ignore this parameter and by default, it will take your app icon.
Tips & Tricks: If your drawable icon is getting cropped on the splash screen, create an app icon from the image
and then replace the content of
windowSplashScreenAnimatedIcon drawable with the ic_launcher_foreground.xml.For
windowSplashScreenBrandingImage, I couldn't find any alternative. Do share in the comments if you find one.Open AndroidManifest file and add a theme to the activity.
1 <activity 2 android:theme="@style/SplashActivity"> 3 </activity>
In my view, there is no need for a new
activity class for the splash screen, which traditionally was required. And now
we are all set for the new Android 12 splash screen.
Adding animation to the splash screen is also a piece of cake. Just update the icon drawable with
AnimationDrawable and AnimatedVectorDrawable drawable and custom parameters for the duration of the animation.1 <item name="android:windowSplashScreenAnimationDuration">1000</item>
Earlier, I mentioned that the new API helps with the initial app data download use case, so let's see that in action.
In the splash screen activity, we can register for
addOnPreDrawListener listener which will help to hold off the first
draw on the screen, until data is ready.1 private val viewModel: MainViewModel by viewModels() 2 3 override fun onCreate(savedInstanceState: Bundle?) { 4 super.onCreate(savedInstanceState) 5 addInitialDataListener() 6 loadAppView() 7 } 8 9 private fun addInitialDataListener() { 10 val content: View = findViewById(android.R.id.content) 11 // This would be called until true is not returned from the condition 12 content.viewTreeObserver.addOnPreDrawListener { 13 return@addOnPreDrawListener viewModel.isAppReady.value ?: false 14 } 15 } 16 17 private fun loadAppView() { 18 binding = ActivityMainBinding.inflate(layoutInflater) 19 setContentView(binding.root)
Tips & Tricks: While developing Splash screen you can return
false for addOnPreDrawListener, so the next screen is not rendered and you can validate the splash screen easily.I really like the new
SplashScreen API, which is very clean and easy to use, getting rid of SplashScreen activity
altogether. There are a few things I disliked, though.- The splash screen background supports only single colour. We're waiting for support of vector drawable backgrounds.
- There is no design spec available for icon and branding images, which makes for more of a hit and trial game. I still couldn't fix the banding image, in my example.
- Last but not least, SplashScreen UI side feature(
theme.xml) is only supported from Android 12 and above, so we can't get rid of the old code for now.
You can also check out the complete working example from my GitHub repo. Note: Just running code on the device will show
you white. To see the example, close the app recent tray and then click on the app icon again.
Hope this was informative and enjoyed reading it.